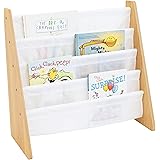
Humble Crew 4-Tier Kids Bookshelf, Natural Wood/White - Premium Book Shelf for Kids Rooms with Four Deep Pockets - Toddler Sling Book Rack with Deep Sleeves, Nursery Bookcase Organizer
$28.49 (as of April 13, 2026 13:01 GMT +00:00 - More infoProduct prices and availability are accurate as of the date/time indicated and are subject to change. Any price and availability information displayed on [relevant Amazon Site(s), as applicable] at the time of purchase will apply to the purchase of this product.)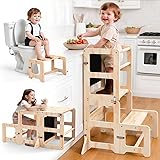
Toddler Kitchen Step Stool, 4-in-1 Foldable Standing Tower with Blackboard, Toddler Step Stool for Bathroom Sink, Kitchen Counter, Ages 18 Months+
$55.98 (as of April 13, 2026 13:01 GMT +00:00 - More infoProduct prices and availability are accurate as of the date/time indicated and are subject to change. Any price and availability information displayed on [relevant Amazon Site(s), as applicable] at the time of purchase will apply to the purchase of this product.)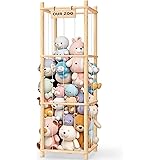
Woodure Stuffed Animal Storage & Organizer, Wooden Cute Zoo Toy Holder for Toddler Rooms, Playrooms & Bedrooms
$39.99 (as of April 13, 2026 13:01 GMT +00:00 - More infoProduct prices and availability are accurate as of the date/time indicated and are subject to change. Any price and availability information displayed on [relevant Amazon Site(s), as applicable] at the time of purchase will apply to the purchase of this product.)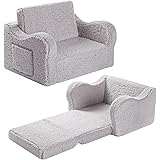
MOMCAYWEX Kids Sofa, 2-in-1 Flip-Out Foam Couch with Soft Sherpa Cover, Cozy Play Lounge Chair, Grey
$37.99 (as of April 13, 2026 13:01 GMT +00:00 - More infoProduct prices and availability are accurate as of the date/time indicated and are subject to change. Any price and availability information displayed on [relevant Amazon Site(s), as applicable] at the time of purchase will apply to the purchase of this product.)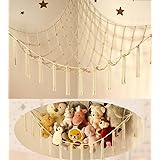
Stuffed Animal Storage Hammock or Net Corner - Large Toy Hammock Net for Stuffed Animals Room Decor - Cute Stuff Animal Organizer Plush Holder - Kids Baby Nursery Essentials Wall Bedroom Home Decor
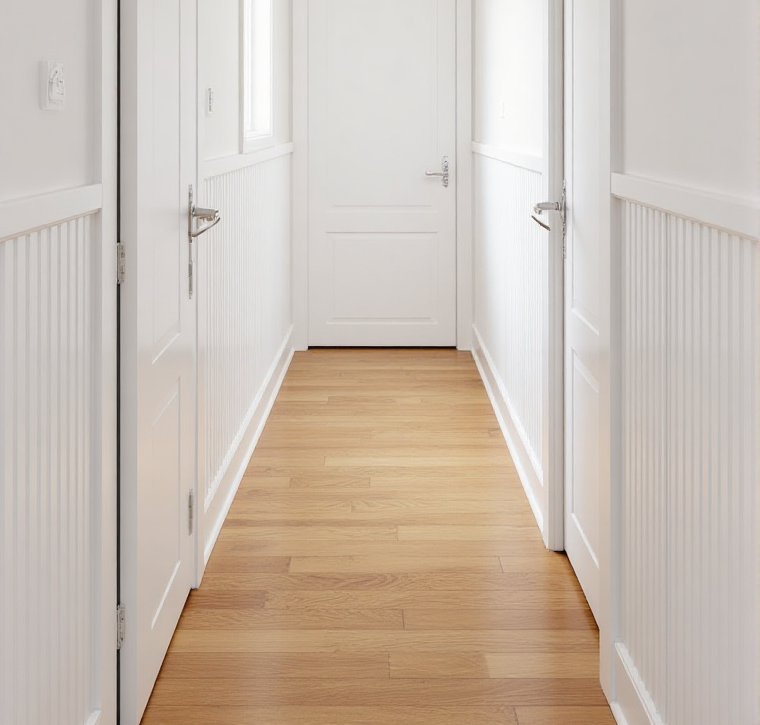
$9.98 (as of April 13, 2026 13:01 GMT +00:00 - More infoProduct prices and availability are accurate as of the date/time indicated and are subject to change. Any price and availability information displayed on [relevant Amazon Site(s), as applicable] at the time of purchase will apply to the purchase of this product.)🧱 Why Wainscoting Is a Game-Changer for Walls
Wainscoting adds architectural interest, texture, and timeless charm to any room. Whether you’re updating a hallway, dining room, or kids’ bedroom, this wall treatment:
- Elevates plain walls with visual depth
- Protects lower wall surfaces from scuffs and wear
- Adds value and character to your home
- Can be customized to suit modern, farmhouse, or traditional styles
And the best part? You don’t need expensive materials or professional help. With a few strips of wood and some basic tools, you can create stunning DIY wainscoting on a budget.
🛠️ Materials You’ll Need
To get started, gather these essentials:
- Wood strips or MDF boards (1×2 or 1×3 sizes work well)
- Measuring tape and level
- Saw (hand saw or miter saw)
- Wood glue or construction adhesive
- Nail gun or hammer and finishing nails
- Caulk and wood filler
- Sandpaper
- Primer and paint
Optional: pre-cut panels or beadboard if you want to add texture between the strips.
📐 Step-by-Step Guide to DIY Wainscoting With Wood Strips
1. Plan Your Layout
- Decide on the height of your wainscoting (typically 36–42 inches).
- Sketch your design: vertical strips only, or a full grid with horizontal rails.
2. Measure and Cut
- Measure your wall and mark where each strip will go.
- Cut wood strips to size using a miter saw for clean edges.
3. Attach the Strips
- Apply wood glue to the back of each strip.
- Press onto the wall and secure with nails.
- Use a level to ensure straight lines.
4. Fill and Caulk
- Fill nail holes with wood filler.
- Caulk along edges for a seamless look.
- Sand smooth once dry.
5. Prime and Paint
- Apply primer to seal the wood.
- Paint in your chosen color—white for classic elegance, or bold hues for a modern twist.
🎨 Styling Ideas for Wood Strip Wainscoting
Wainscoting isn’t just functional—it’s a design statement. Try these styling ideas:
- Contrast colors: Paint the wainscoting a darker shade than the upper wall.
- Add wallpaper above: Combine textures for a layered look.
- Use in kids rooms: Paint strips in playful colors or add decals between panels.
- Frame furniture: Install wainscoting behind beds, desks, or dining tables for visual framing.
This versatile wall treatment works in entryways, bathrooms, nurseries, and beyond.
🧵 Budget-Friendly Tips
Want to keep costs low? Try these hacks:
- Use MDF or plywood strips instead of solid wood.
- Repurpose scrap wood from other projects.
- Skip the top rail for a minimalist look.
- Paint everything the same color to unify mismatched materials.
DIY wainscoting with strips of wood is one of the most affordable ways to upgrade your home’s interior.
🛡️ Safety & Maintenance
- Always wear eye protection when cutting wood.
- Use low-VOC paint for indoor air safety.
- Clean wainscoting with a damp cloth—avoid harsh chemicals.
- Touch up paint and caulk annually to keep it looking fresh.
📝 Final Thoughts
DIY wainscoting with strips of wood is a simple, stylish way to transform your walls. Whether you’re going for cozy cottage vibes or sleek modern lines, this project offers endless customization and long-lasting impact.
With basic tools and a weekend of work, you can create a wall feature that looks high-end—without the high price tag.
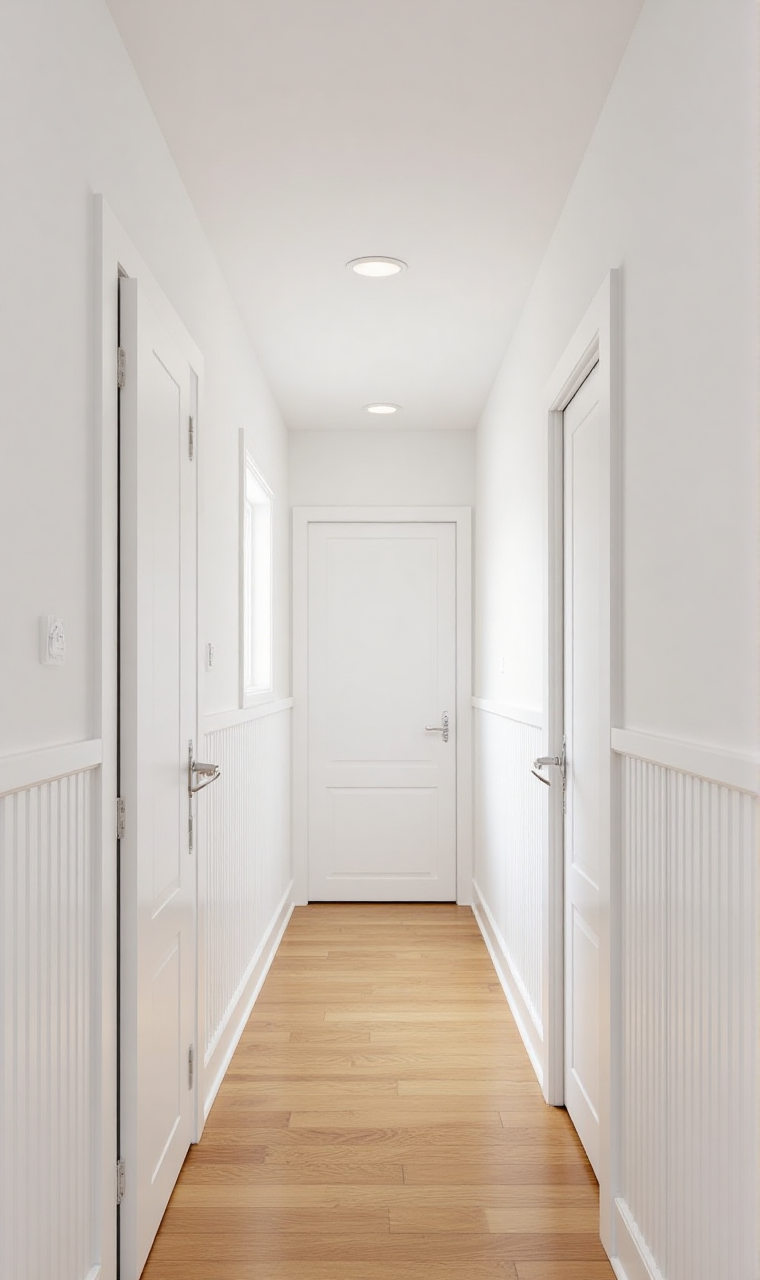
- “Modern hallway with DIY wood strip wainscoting painted white”
- “Kids bedroom with colorful wainscoting made from vertical wood strips”
- “Living room with grid-style wood paneling and neutral decor”